2. Creating a Post
This tutorial will guide you through the posting dialog.
You may open the "Create a Post" dialog by clicking the 'Post' button above the general planner, from any organization that allows you to post to their planner, or from your 'My account' section.
Once you click the 'Post' link, you should see a dialog with the below fields appear:
Organization Selector

This field is used to select the organization to which your post will be submitted. If you are unsure, see the 'Deciding where to post' tutorial.
Image uploader
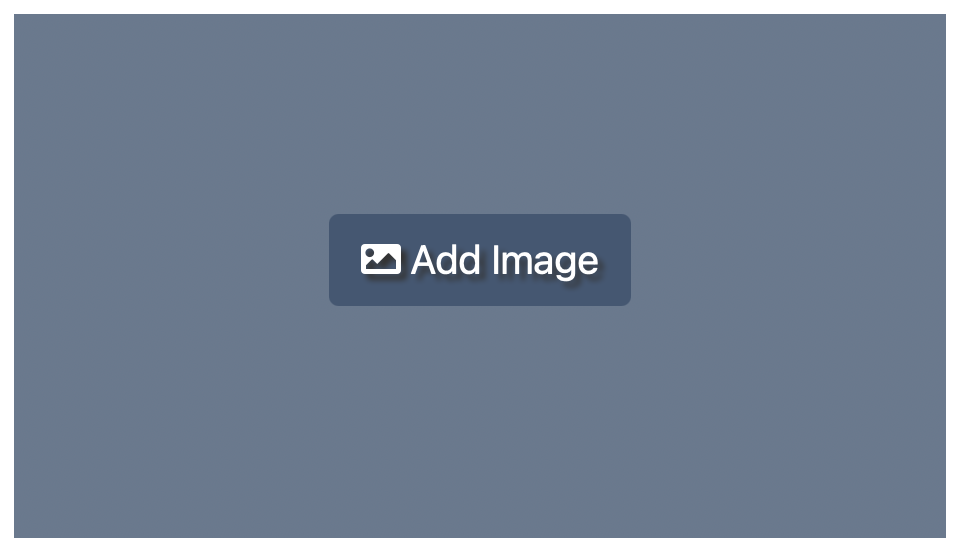
Having an attractive header image is a great way to draw attention to your post.
This field is not required. If you do not upload an image, a nice background will be shown with your post title displayed over the top of it.
The image field is best uploaded at a 16:9 ratio.
The next screen will walk you through how you can edit your image after it is added.
Image Editor
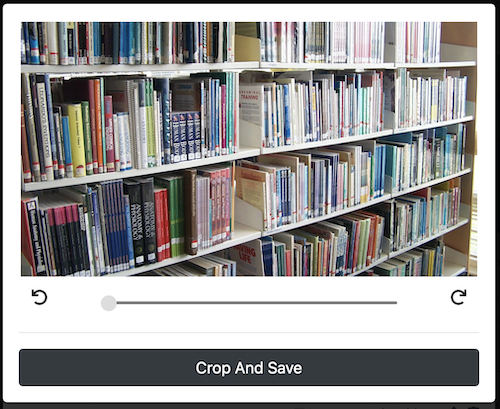
After you select an image, this dialog will appear that will allow you to rotate or reposition your image to fill the provided space.
When you are finished, click the "Crop and Save" button to return to creating the rest of your post.
Image Options
![]()
If you've uploaded an image, you will see these options appear under it.
-
- If you check the box next to "Image contains title", the overlay will be removed from the image and anywhere the post is displayed the post title will not appear. This box assumes that you have uploaded artwork that displays your post title in the image itself.
- Clicking the pencil icon will allow you to select a different image. If you need to crop or rotate your image, click this button and re-select your image from your computer to edit it again.
- Clicking the trash icon will remove the image from the post.
Post Type

Locals Planner was created to help communities plan. Together. This means coordinating around two major types of community interactions: Events and Needs.
This is where you choose which of these you are posting. If you choose an event, it will allow you to put in a cost for the event. If you choose a need, it will allow you to list resources you think you may need for it. Besides these two distinctions and different categories, the following fields will be the same.
When embedding a planner, organizations in your community are able to choose either, or both of these main interactions to display in their planner. If they exclude needs and you post a need, your post will not be shown on their planner! The same goes for events.
Post Details

This is where you list the name of your need or event.

This field allows you to describe your event or need. This is where all the details should go!
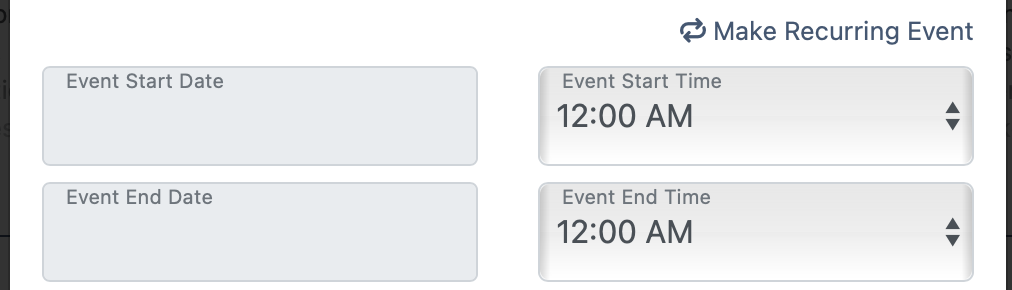
This is where you describe when your event is happening.
Notice the "Make Recurring Event" link? This allows you to make events or needs repeat on a regular recurring basis.

This is where you describe where your event or need is going to be.
If you list an address, we will link to a Google map for interested parties to see.

If you are posting an event, this is where you put how much your event costs. Hint: You can also type "FREE!"
If you are posting a need, this is where you will put in resources that you think are needed to meet the need.
User Options
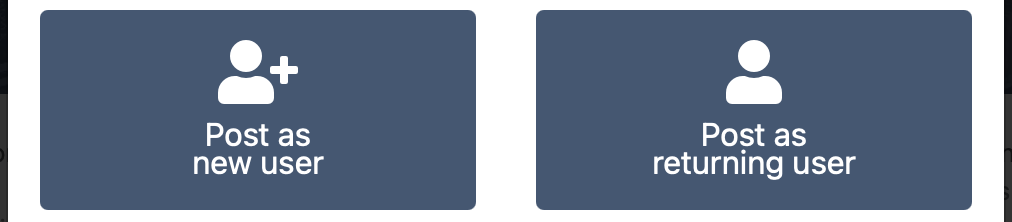
If you are already logged in, you may not see these buttons and will only see contact details.
If you aren't logged in, we allow you to easily register or login directly from the posting screen.
Contact Information
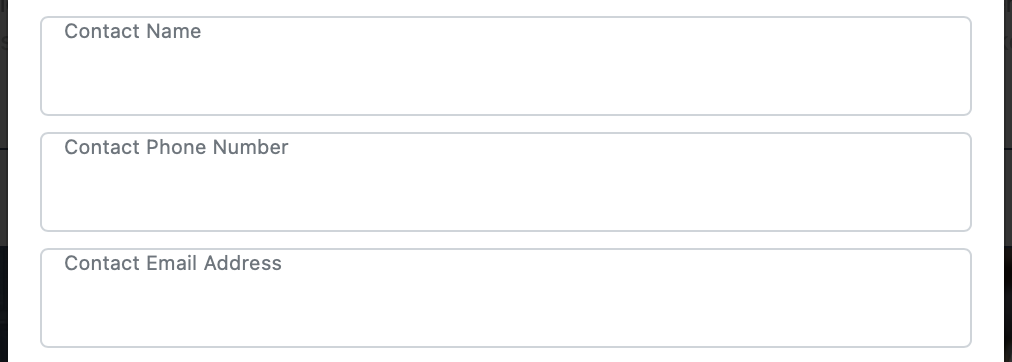
Each post allows you to put in contact information for the coordinator for this specific event or need. We do not display any of this information directly to the user so the organizer's phone and email are not exposed to robots seeking to scrape contact information.
User Registration
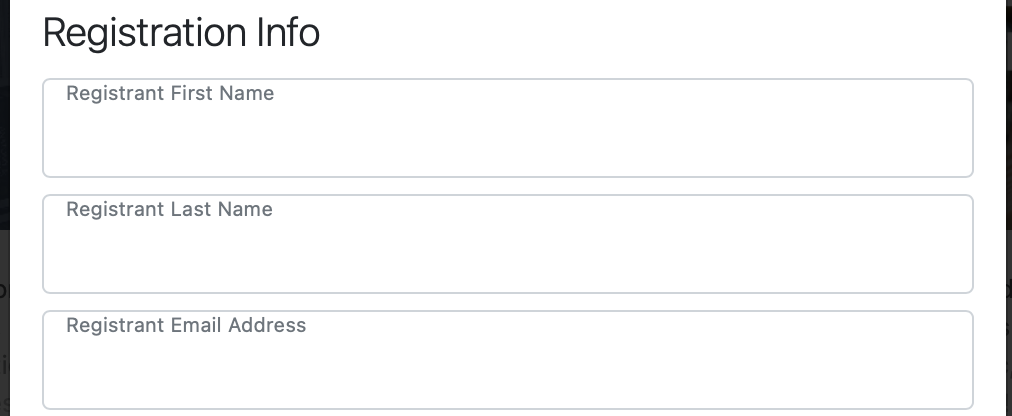
If you chose to register as a new user, you will complete this 3 field registration form to register for an account on Locals Planner. We believe in keeping registration super simple and will never spam you or sell your information!
Submission Process
![]()
That's it! Review your post, and click the "Create Post" button!
Here's what happens next:
If you have approval authority for the organization you selected, your post will automatically be posted to your organization's planner.
If you do not have approval authority, your post will be sent to the people in the organization you selected for their review and approval.
Once approved, your post will show in the planner of the organization to which you submitted it. If it is denied, or if you didn't choose a specific organization to which to post it, it will immediately began being displayed on the generic community planner.